Before you start creating new virtual machine be sure that you have latest version of VirtualBox downloaded and installed according to Installation details.
In this article we’ll focus only on virtual machine creation. Further steps like how to create a group of virtual machines, install operating system (RHEL, Oracle Linux ) or add more disks to virtual machine and share them between hosts for ASM purposes will be described in separate article.
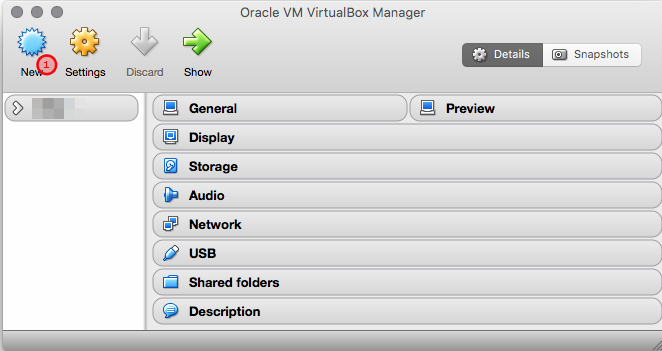
Open VM Virtualbox Manager and click “New” (1) to create new virtual machine
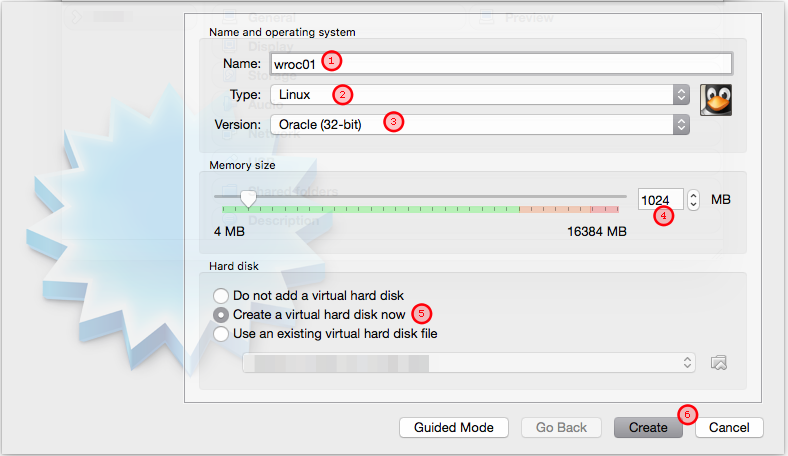
Set the virtual machine name (1) to wroc01, choose type of operating system to Linux (2) and architecture to x86 (3) and set memory size of virtual machine to 1024M (4). In addition use “Create a virtual hard disk now” option to add disk to virtual machine (5) and click Create (6) to finish
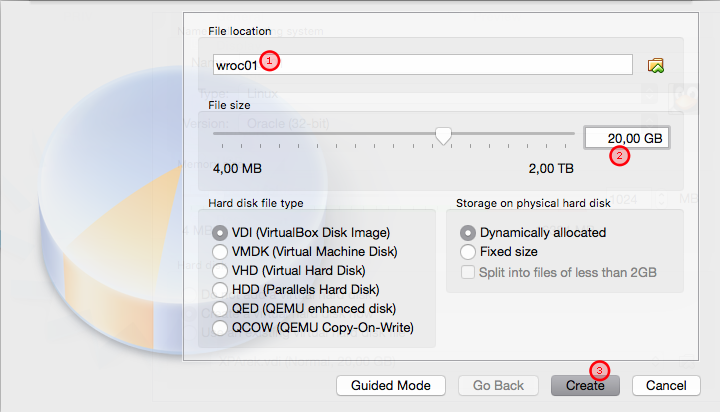
In this step you can choose disk location and name for file which emulates disk (1). Set file size to 20G (2) and press “Create” (3) button to add disk to VirtualMachine. Leave “Dynamically allocated” setting to allow grow this file dynamically.
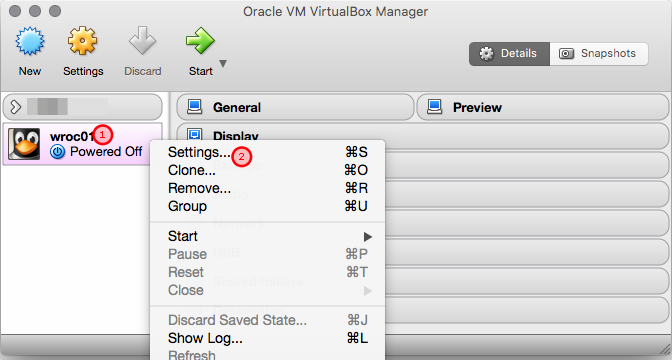
Virtual machine was created. Now we neeed to modify some settings before we start installation. Click mouse right button on virtual machine name (1) and choose “Settings” from the list (2)
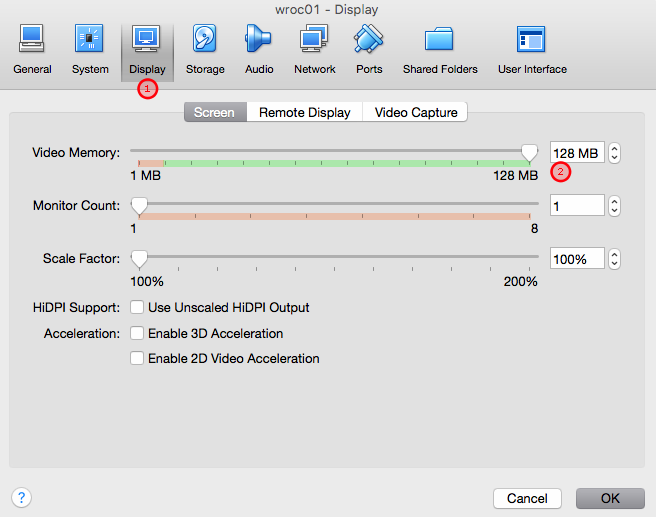
Switch to “Display” tab (1) and increase Video Memory to maximum value (2)
Switch to “Storage” tab (1) and choose ISO image of Oracle Enteprise Linux 5.4 x86 from your local disk (2). You should see disk has been mounted to virtual machine (3)

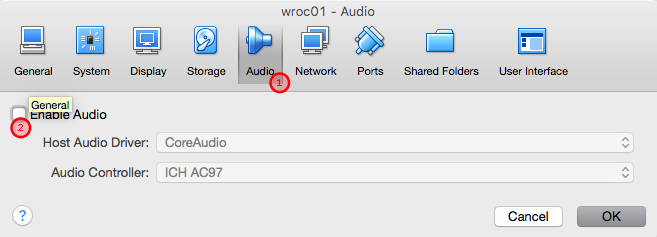
Switch to “Audio” tab (1) and disable Audio for this virtual machine (2)
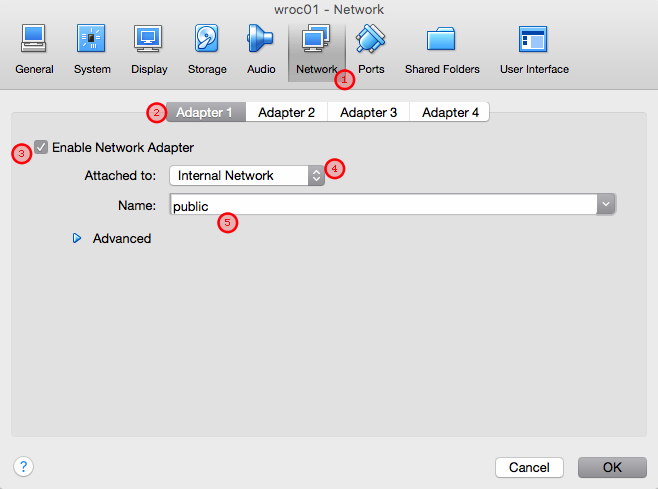
Switch to “Network” tab (1) and for Adapter 1 (2) enable this network adapter (3). From listbox choose “Internal Network” (4) and name this network as public (5)
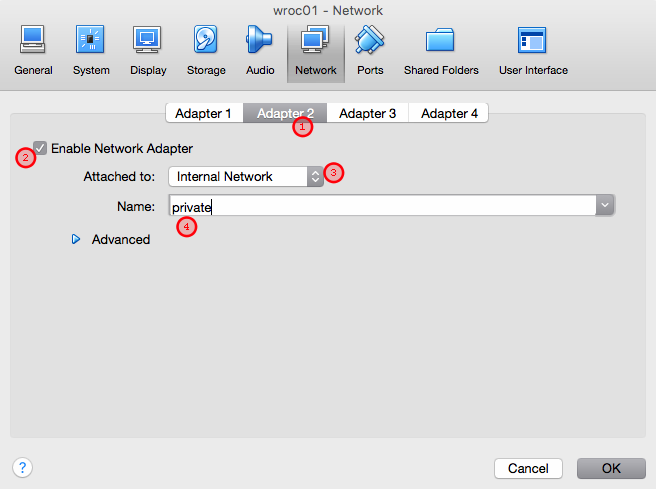
Now switch to Adapter 2 tab (1) enable this network adapter (2). From listbox choose “Internal Network” (3) and name this network as private (4)
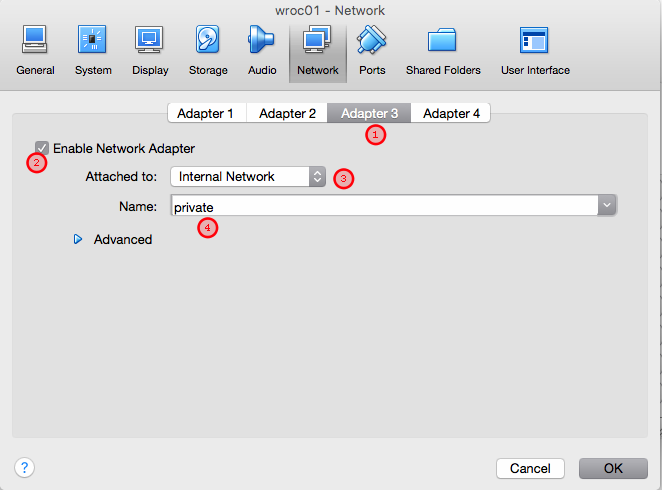
The same operation should be done for Adapter 3. Switch to Adapter 2 tab (1) enable this network adapter (2). From listbox choose “Internal Network” (3) and name this network as private (4)
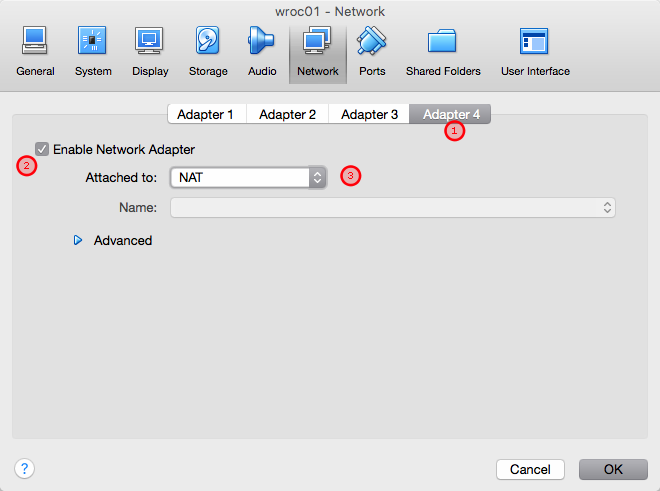
Switch to Adapter 4 tab (1) enable this network adapter (2). From listbox choose “NAT” (3) and click OK to finish virtual machine configuration.
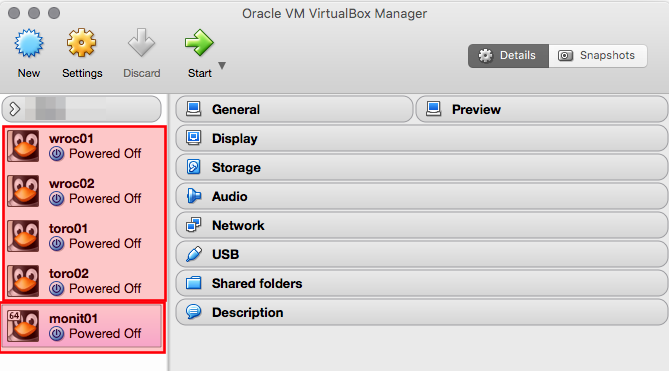
If you want to practice some tasks you need to repeat these steps for other virtual machines which are part of LAB02 (wroc01,wroc02,toro01,toro02,monit01 – please notice that this machine was created in x64 architecture)