In previous article we discussed how to install Oracle Linux Desktop Version with many useful packages. This article describes how to install Oracle Linux 5.4 x86 version in minimal mode. In fact according to note “Linux OS Installation with Reduced Set of Packages for Running Oracle Database Server (Doc ID 728346.1)” the OL5 and RHEL5 anaconda installer does not offer a MINIMAL option. It might be achieved only by choosing the ‘CUSTOMIZE’ option and deselecting every package or package group will result in a minimal installation.
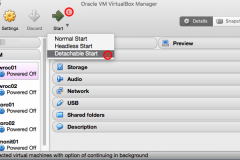
Click on machine which you want to start, then click “Start” (1) and choose “Detachable Start” option (2) from the list. This option allows you to save some physical resources, run machine in background and connect via SSH later.
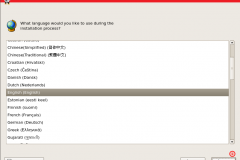
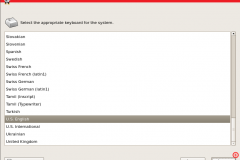
From the list choose language which you want to be used for installation process and click Next (1) to continue
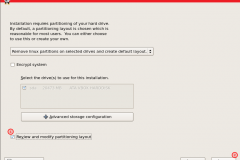
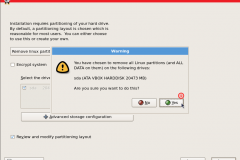
On this screen don’t change anything but mark checkbox “review and modify partitioning layout” (1) and click Next (2) to continue
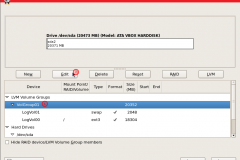
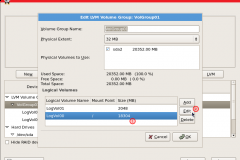
We need to increase SWAP, which is assigned to LogVol01, up to 4G. To do this we need to decrease size of LogVol00. Click on LogVol00 (1) and Edit (2) to change default size of this volume
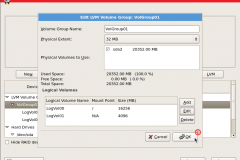
Decrease size of LogVol00 to 16256MB and increase size of LogVol01 to 4096MB and click OK to confirm (2)
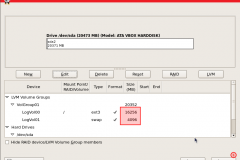
You should see that values were updated and swap has 4G of storage. If values are different go to the previous point and fix them.
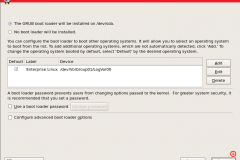
Click Next (2) to proceed.
Click Next (2) to proceed.
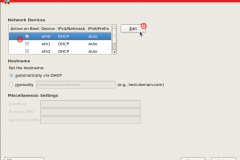
Click on eth0 interface (1) and edit (2) to change settings. This interface will be used as public interface of RAC environment
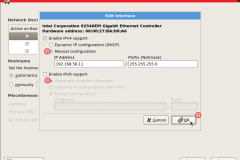
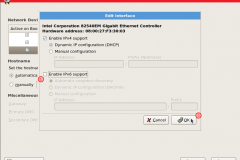
For IPv4 change settings to Manual configuration (1) and set proper values for public interface (192.168.54.11/24).
Disable IPv6 settings – uncheck “Enable IPv6 support” (2) and click “OK” (3) to continue
Disable IPv6 settings – uncheck “Enable IPv6 support” (2) and click “OK” (3) to continue
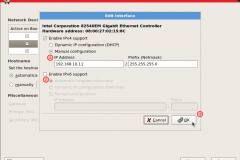
For IPv4 change settings to Manual configuration (1) and set proper values for private interface (192.168.10.11/24).
Disable IPv6 settings – uncheck “Enable IPv6 support” (2) and click “OK” (3) to continue
Disable IPv6 settings – uncheck “Enable IPv6 support” (2) and click “OK” (3) to continue
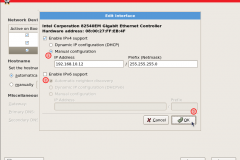
For IPv4 change settings to Manual configuration (1) and set proper values for private interface (192.168.10.12/24).
Disable IPv6 settings – uncheck “Enable IPv6 support” (2) and click “OK” (3) to continue
Disable IPv6 settings – uncheck “Enable IPv6 support” (2) and click “OK” (3) to continue
Here leave IPv4 settings by default as this interface is set to NAT IP address will be assigned automatically.
Disable IPv6 settings – uncheck “Enable IPv6 support” (1) and click “OK” (2) to continue
Disable IPv6 settings – uncheck “Enable IPv6 support” (1) and click “OK” (2) to continue
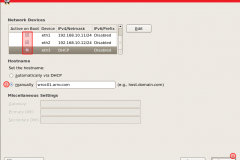
Make sure that all devices have “Active on boot” option set.
Provide name of the host (1) and click Next to continue (2)
Provide name of the host (1) and click Next to continue (2)
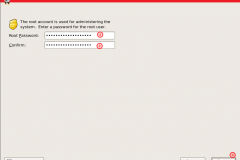
Provide root password (1) and confirm it by typing the same password (2) and click Next (3) to continue
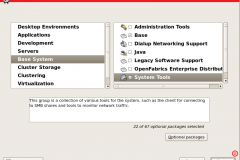
Installing the ‘BASE SYSTEM/BASE’ package group provides a workable environment – it contains openssh, yum, ksh, tcpdump, wget, configuration tools and various other useful server software. In addition we want to add some packages (oracle-validated, oracleasm, oracleasm-support) from repository.
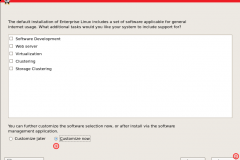
Choose “Customize now” (1) option and next
Choose “Customize now” (1) option and next
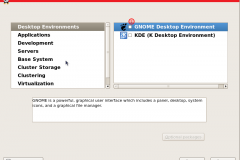
Be sure that all default options are unset in all subcategories (Desktop Environment – Gnome (1), Application etc) by clicking one by one on the left side
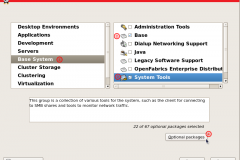
Be sure that you checked from “Base System”(1) option “Base”(2) and “System Tools” (3). For System Tools we need to add 3 packages, so please check “optional packages” (4) to proceed
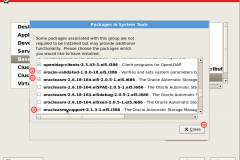
Find on the list packages oracle-validated (1), oracleasm (2) and oracleasm-support(3).
oracleasm and oracleasm-support are needed for databases on ASM and oracle-validated installs required packages for Oracle Database and sets the recommended system parameters
oracleasm and oracleasm-support are needed for databases on ASM and oracle-validated installs required packages for Oracle Database and sets the recommended system parameters
